You just received your mural panels. They’re rolled in kraft paper, labeled in a language you barely read, and more beautiful than you expected. The temptation to start unrolling immediately is real. Don’t. What happens in the next few hours — before a single panel touches the wall — determines whether this installation looks gallery-perfect in five years or starts lifting at the seams by autumn. A scenic mural (a large-format decorative wall covering, often printed or hand-painted in sequenced panels meant to create a continuous image) is an investment that rewards careful prep and punishes shortcuts. This guide walks you through the tools, primers, and wall-prep decisions that professional paperhangers treat as non-negotiable — and the tradeoffs you’ll face depending on your wall type, your panel type, and your budget for the installation itself.
The Three Wall Types You’re Actually Dealing With (And Why They Require Different Approaches)
Before you buy a drop of primer, you need to know what your wall surface actually is. This sounds obvious, but it’s where most mid-project disasters originate.
Unpainted drywall (also called greenboard or gypsum board in its raw state) is the most problematic surface for any wallpaper. The paper face of drywall is porous and slightly fuzzy. If you hang wallpaper directly onto it — even peel-and-stick — the adhesive bonds too aggressively to the paper face. When you ever try to remove or reposition panels, you pull the drywall’s face paper with it, gouging the wall. The fix is a wallpaper-specific primer-sealer (sometimes called a “sizing”), applied in at least one coat and allowed to cure fully — typically 24 hours — before any panel goes up.
Previously painted drywall is the most common scenario and the most forgiving — with conditions. The paint must be fully cured (latex paint needs at least 30 days of cure time after application, per the NGPP’s 2024 installation guidelines), clean, and free of flaking or peeling sections. A flat or matte paint finish grips adhesive better than eggshell or semi-gloss. If your walls are semi-gloss, you have two options: sand lightly with 220-grit paper and wipe clean, or apply a bonding primer designed for slick surfaces.
Plaster walls, common in pre-1950s homes and in high-end new construction that mimics traditional European finishes, are dense and alkaline. They’re actually excellent substrates for traditional unpasted wallpaper — but alkalinity can degrade some adhesives over time. The Spruce’s guide on wall preparation recommends testing older plaster for moisture and checking for hairline cracks before any application. Fill cracks with joint compound, sand smooth, and allow to cure before priming.
The decision rule: If your wall is unpainted drywall, stop and prime before anything else. If it’s painted drywall in good condition, do a moisture test (tape a 12-inch square of plastic film to the wall with painter’s tape, leave 24 hours, check for condensation) and proceed if clean. If it’s plaster, inspect for cracks and alkalinity issues first.
Primer Selection: The One Purchase Most Buyers Skip (And Regret)
Primer is not the same as paint. A wallpaper primer — sometimes called a wall size or sizing agent — is formulated specifically to create a controlled, slightly slippery surface that lets panels be repositioned during installation and prevents the wall from drinking adhesive unevenly.
Here’s the core tradeoff:
Oil-based primer creates the most durable seal on raw drywall and stained surfaces. It blocks tannin bleed-through (relevant on older walls with water stains) and cures to a hard, non-porous surface. Downside: long dry time (4–8 hours), strong fumes requiring ventilation, and brush cleanup requires mineral spirits. If you’re working on a hospitality project with a fixed schedule, oil-based primer’s cure time can push your timeline by a full day.
Acrylic or latex wallpaper primer (products in the Roman and Zinsser lines are frequently cited in installer forums) dries faster — typically 1–4 hours — and cleans up with water. Reviewers and paperhangers on professional forums consistently note that acrylic sizing performs well on previously painted walls but is less reliable on raw drywall, where a second coat is often needed.
Clear sizing is a thin, water-based solution brushed directly onto the wall. It’s not a primer in the traditional sense — it doesn’t block stains or seal raw surfaces — but it creates the slightly slick “slip layer” that makes large pasted panels repositionable. Architectural Digest’s 2025 roundup of installation best practices notes that many professional paperhangers apply sizing as a final step even after a full primer coat, particularly for heavy paste-the-wall (unpasted) murals.
By the numbers:
- Raw drywall: 2 coats of wallpaper primer required; allow 24 hours total cure before hanging
- Painted walls (flat): 1 coat sizing; 1–4 hours cure
- Semi-gloss painted walls: light sand + bonding primer + sizing; allow 12–24 hours total
- Plaster (stable, sealed): 1 coat wallpaper primer; 4–8 hours cure
Tools You Need Versus Tools You Think You Need
The tool list for a mural installation is shorter than most people expect, but the quality of a few specific items matters enormously.
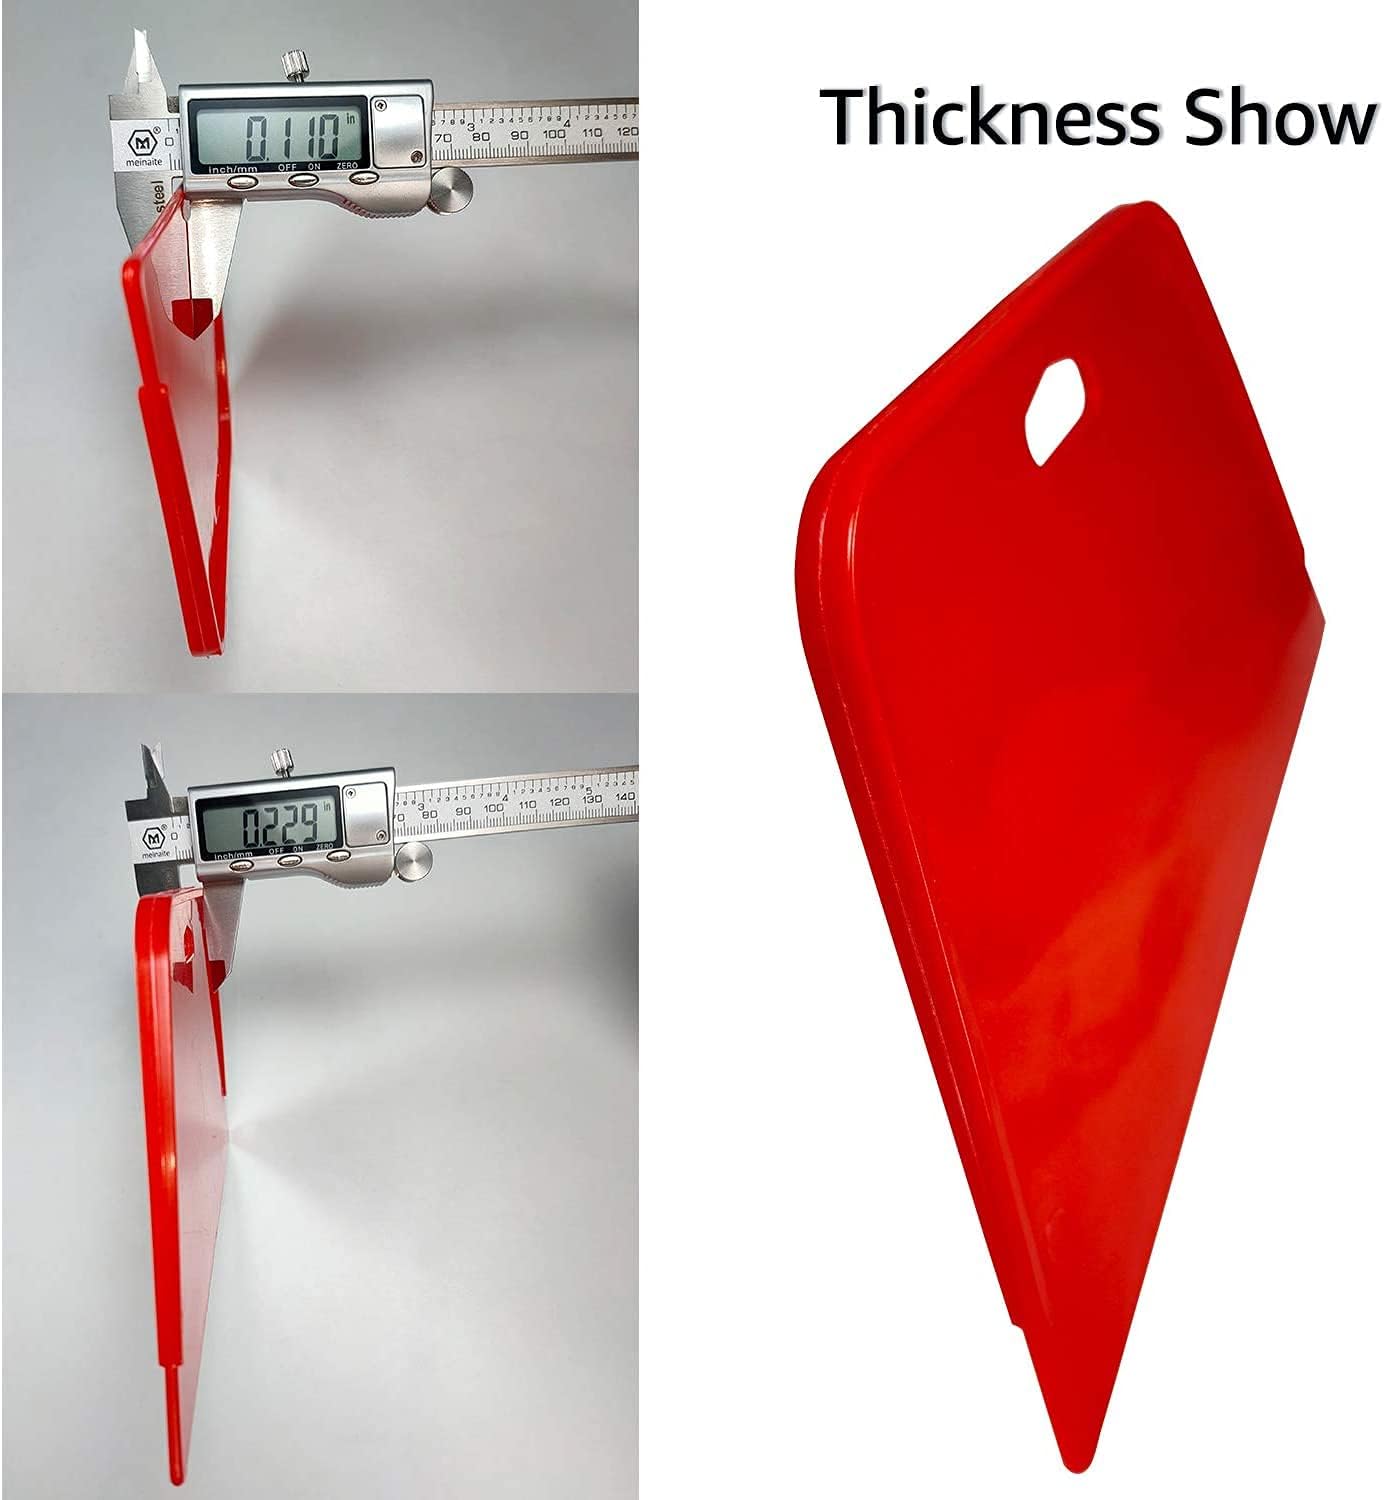
Smoothing tools are where installers diverge. A plastic smoother (a flexible, credit-card-like squeegee) is the standard for peel-and-stick panels. Apartment Therapy’s overview of peel-and-stick installation consistently highlights the plastic smoother as the single most important tool for preventing air bubbles, because it lets you apply firm, even pressure without scratching the panel face. A felt-covered smoother is preferred for delicate hand-printed papers (de Gournay, Gracie Studio) where a plastic edge could scuff the painted surface. You do not need both for most projects — choose based on your panel type.
Seam rollers press panel edges flat after installation. A small rubber seam roller (typically 2-inch diameter) is what NGPP-certified paperhangers use for traditional pasted wallpaper. For peel-and-stick, this same tool is useful along seams but should be used gently — too much pressure on a repositionable adhesive can lock it down prematurely.
A quality plumb line or laser level is non-negotiable. Every installation guide — including those from the NGPP, The Spruce, and House Beautiful — leads with the same warning: walls are almost never perfectly plumb or square. If you start your first panel by eyeballing it against a door frame or ceiling line, pattern drift accumulates across every subsequent panel. A laser level (any basic self-leveling line laser, widely available at hardware retailers) projects a true vertical in seconds and gives you a reference mark to snap a pencil line against before the first panel goes up.
A sharp snap-off knife and spare blades. Dull blades drag, tear, and cause the micro-tears at seams that look fine at installation but open up as the paper expands and contracts seasonally. Snap a fresh blade every two to three panels on a large installation. This is one of those habits that separates experienced installers from beginners — House Beautiful’s 2024 prep guide specifically flags dull cutting tools as a top-five installation error.
What you don’t need: A commercial paste table is useful but not required for most residential projects. A standard folding table covered with a plastic drop cloth works fine for pasting panels (if your paper is unpasted) or for accordion-folding pasted panels before carrying them to the wall.
Peel-and-Stick vs. Unpasted vs. Pre-Pasted: The Substrate Decision Shapes Everything Upstream
This is where practitioners sometimes make a category error: they choose their wall prep protocol for the panel type they wish they had rather than the one they actually ordered. Let’s be direct about the tradeoffs.
Peel-and-stick murals (common from Spoonflower, Society6, and some Burke Décor lines) have a factory-applied pressure-sensitive adhesive covered by a release liner. They’re forgiving on painted walls in good condition. They perform poorly on textured walls (orange peel or heavier) — the adhesive contacts the peaks of the texture but bridges the valleys, creating a stippled, bubbly look that worsens over time. If your walls have texture, you have three options: skim-coat the texture flat (a plasterer’s job), switch to a pasted paper that conforms better, or accept the limitation.
Pre-pasted wallpapers have a dried adhesive layer on the back that’s activated by water. You wet the panel (in a water tray or by rolling water onto the back), fold it paste-to-paste (called “booking” — letting it rest folded for a few minutes so the adhesive reactivates evenly), then hang it. Pre-pasted papers are middle-ground: more forgiving than unpasted on walls that aren’t perfectly prepped, but less archival than a properly pasted unpasted paper.
Unpasted wallpapers — the category that includes most bespoke hand-painted murals from de Gournay, Fromental, and Gracie Studio — require a separate wallpaper paste (methyl cellulose or wheat starch paste for delicate papers; heavier commercial paste for thicker substrates). Paste is applied to either the wall or the paper back depending on the manufacturer’s specification. This is where an NGPP-certified installer is not optional for premium commissions — the paste-to-paper ratio, booking time, and wall temperature all affect the final result in ways that are very difficult to correct once the panel is up.
The if/then decision frame:
- If your wall is smooth painted drywall and your budget is under $500 for the panel set → peel-and-stick is defensible; prime with a latex sizing coat
- If your wall has any texture and you’re using peel-and-stick → skim-coat first or switch panel type; there’s no workaround that holds long-term
- If your panel set cost more than $1,000 and is unpasted → budget for an NGPP installer; don’t negotiate this line item away
- If your timeline is tight (hospitality opening, staged listing) → pre-pasted is your fastest path; acrylic primer, 4-hour cure, hang same day
- If longevity is the priority (principal bedroom, landmark hotel corridor) → unpasted + wheat starch or methyl cellulose paste + NGPP installer is the professional standard
The Sample-First Rule Still Applies to Prep, Not Just Pattern
Before you commit your primer and wall prep protocol to an entire room, run your chosen primer on a small section and hang a sample panel of your actual mural paper against it. Order four to six samples if the vendor allows it — this isn’t just about approving the colorway in your lighting conditions (though that matters enormously). It’s about confirming that your adhesive, your primer, and your specific wall surface create the bond strength and repositionability you need. Apartment Therapy’s guide on peel-and-stick installation notes that readers frequently discover adhesion problems at sample stage that would have been expensive failures at full installation. The sample is your proof-of-concept for the entire prep system, not just a color check.
Your next step: if you haven’t measured your walls for panel count yet, use the room measurement calculator on this site to confirm how many panels you need before you finalize your order. If your project involves unpasted panels at the premium tier, the installer-finder guide can help you locate NGPP-certified paperhangers by region.