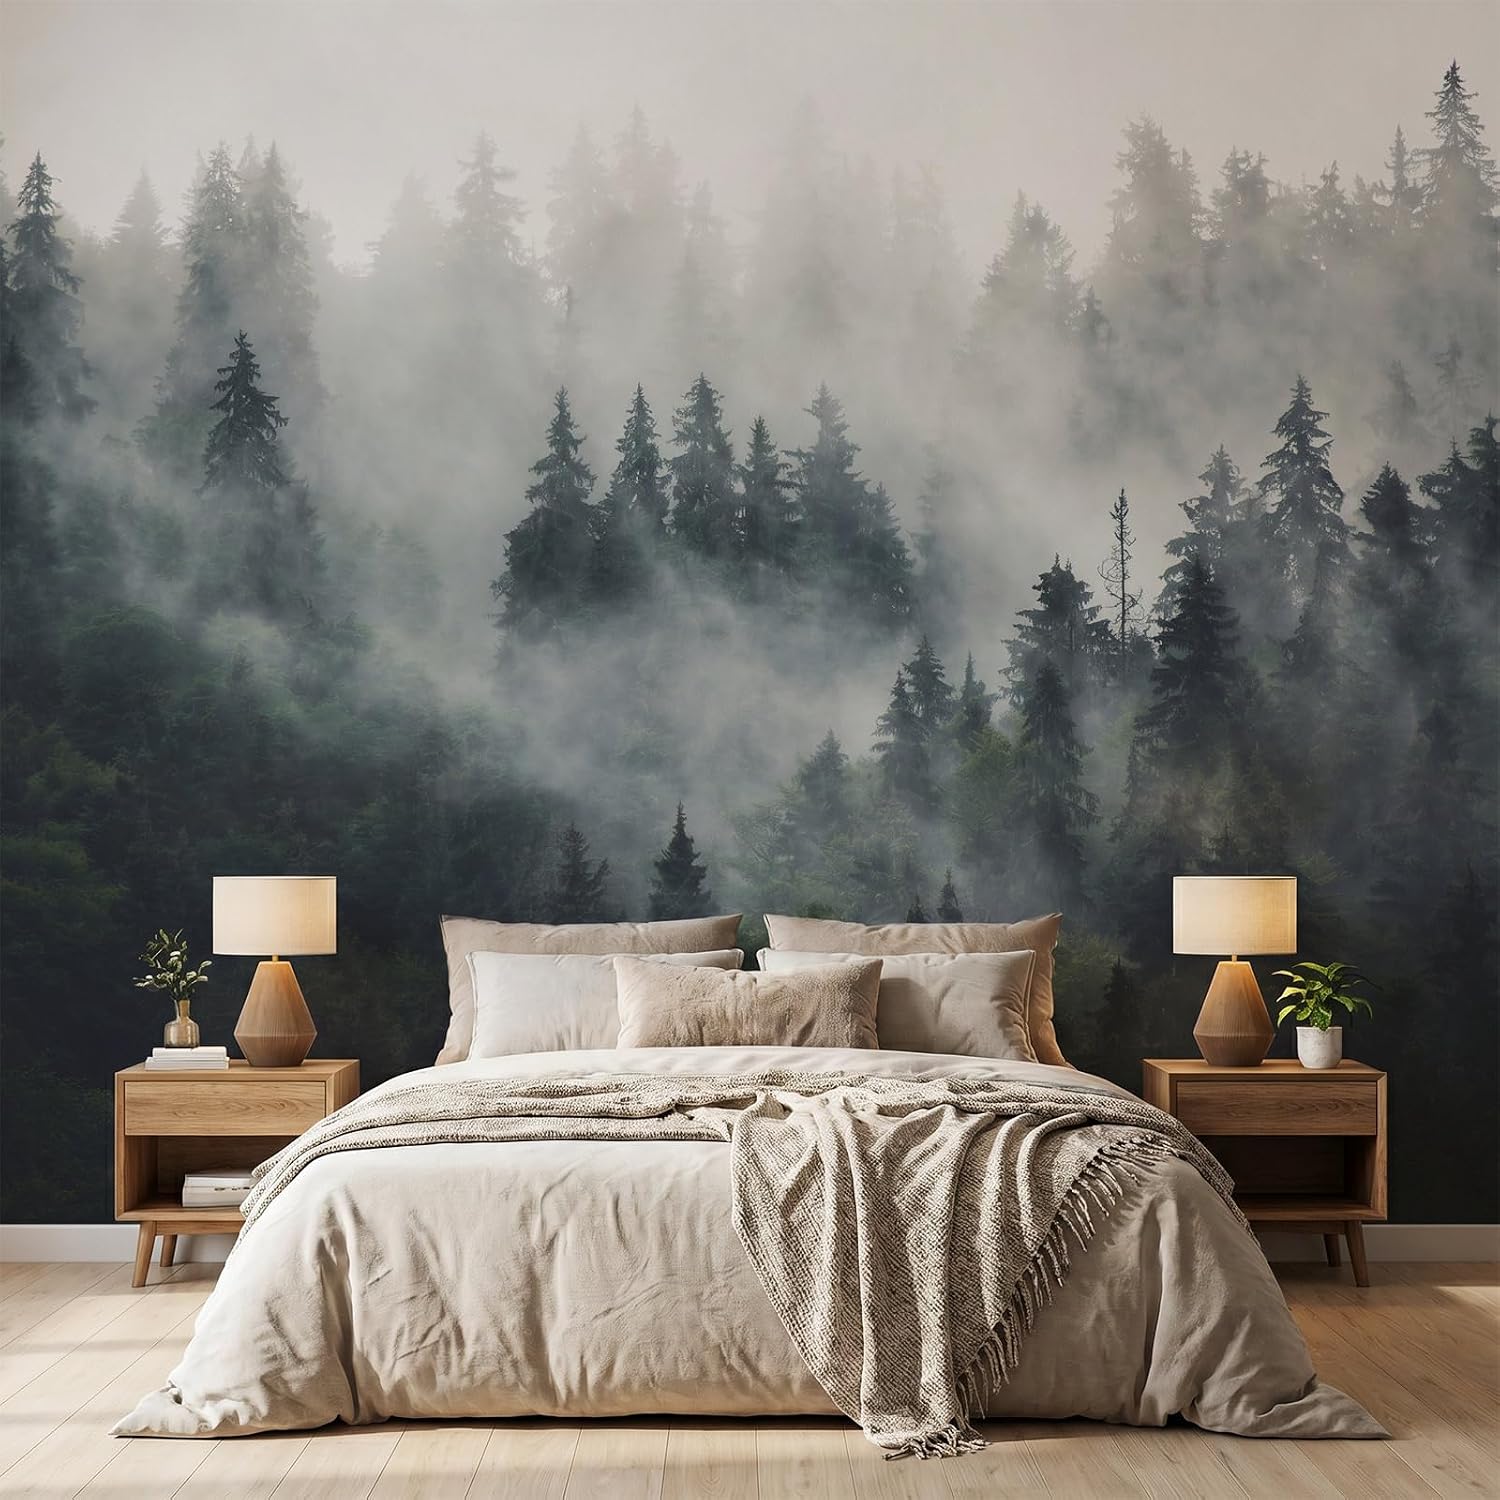
You just found a stunning forest mural on Instagram — ancient oaks, layered ferns, maybe a misty Japanese landscape — and now you’re staring at a blank wall trying to figure out whether you need four panels or fourteen, and whether you’re looking at a $400 project or a $4,000 one. A scenic mural (a large-scale image printed or painted across multiple vertical strips, designed to wrap a wall or room in a continuous scene) is not ordered like standard repeating wallpaper. There are no pattern repeats to match panel-to-panel. Instead, the manufacturer slices a single master image into numbered panels — typically 20–24 inches wide — and you install them in sequence. Get the count wrong by even one panel, and you’re cutting into a tree trunk with no replacement, or you’ve paid for four extra rolls gathering dust in a closet. This guide gives you the actual math, the cost ranges by tier, and a clear “if X, then Y” framework for the three decisions that trip up intermediate buyers most: panel quantity, substrate choice, and whether to hire a specialist installer.
Step One: The Panel Count Formula (And Why It’s Not as Simple as Wall Width ÷ Panel Width)
At a glance, panel count feels like arithmetic. If your accent wall is 120 inches wide and each panel is 24 inches wide, you need five panels. Done. Except it’s rarely done, because three variables eat into that simple math:
1. Wall height vs. mural height Most manufacturers produce scenic murals in standard heights — commonly 96 inches (8 feet), 108 inches (9 feet), or 120 inches (10 feet). If your ceiling is 9’6”, you have two options: order a custom-height mural (which adds 20–40% to the base price at most studios) or order the next standard size up and trim the excess. The Spruce’s overview of wallpaper measurement recommends always rounding up to the next standard height rather than piecing together vertical extensions, which would break the continuous-scene illusion.
2. Return walls and inside corners Forest murals look best when the scene wraps. If you’re papering an alcove or continuing around a shallow return wall (the short side wall at the end of an alcove), you’ll need additional panels. A standard 4-inch return wall still requires one full panel — you’ll trim it, but you can’t order a fraction.
3. The “set” problem Many mid-market and premium murals are sold in fixed sets — a 4-panel set, an 8-panel set — calibrated to cover a specific square footage. Buyers at Anthropologie or Burke Décor (which both carry scenic forest panels in the $300–$700 range for a standard 4-panel set, per House Beautiful’s 2024 roundup of wallpaper mural brands) often discover their walls fall between set sizes. You are almost always better off ordering one set larger than you need than trying to stitch two partial sets. The color calibration across print runs, even from the same manufacturer, is rarely identical.
The Working Formula
Required panels = CEIL(wall width in inches ÷ panel width in inches) Add 1 panel if wall height > mural height (for any installation with trim risk) Add 1 panel per inside corner if the mural wraps
Example: 144-inch-wide dining room, 9-foot ceiling, 24-inch panel width, mural height 108 inches.
- Base: 144 ÷ 24 = 6 panels
- Ceiling matches mural height: no add
- No corner wrap: no add
- Order: 6 panels minimum, 7 if any openings (doors, windows) break the field
For rooms with multiple windows, some designers order a “bleed panel” — one extra — to patch miscutsaround casings. Apartment Therapy’s beginner’s guide to ordering murals consistently flags window interruptions as the most underestimated waste factor in DIY mural projects.
The True Cost Framework: Four Tiers, Real Numbers
“How much does a forest mural cost?” is the wrong question. The right question is: what is the true installed cost per square foot? Here is a tier-by-tier breakdown current to mid-2026 market conditions.
By the Numbers — Forest Mural True Cost by Tier (2026)
| Tier | Example Brands | Panel/Set Cost | Shipping + Liner | Install (NGPP) | True Cost / sq ft |
|---|---|---|---|---|---|
| Entry ($40–$120) | Spoonflower, Society6 | $60–$120 for a 4-panel set | $15–$30 | DIY or $150–$300 GC | $1.50–$4.00 |
| Mid-market ($200–$800) | Anthropologie, Burke Décor, Photowall | $300–$700 per set | $40–$80 | $300–$600 | $6.00–$14.00 |
| Premium ($800–$2,500) | Rebel Walls, Feathr, Milton & King | $800–$2,200 per set | $80–$200 + possible duties | $600–$1,200 | $15.00–$28.00 |
| Bespoke ($2,500–$15,000+) | de Gournay, Gracie Studio, Fromental | Custom quote | $300–$800 + duties | NGPP-certified specialist only, $1,200–$4,000+ | $40.00–$120.00+ |
Duties apply to orders shipped internationally (common with UK and European studios). For US buyers ordering from a UK-based supplier in 2026, budget an additional 10–20% on the goods value for import duties and brokerage fees, per current US customs schedules.
A few line items buyers consistently miss, flagged across reviews aggregated from House Beautiful and Apartment Therapy:
- Liner cost: Unpasted murals (the substrate format used by virtually all premium and bespoke studios) require a wall liner — a smooth, paintable underlayer — especially on imperfect drywall. Liner materials run $0.40–$1.20 per square foot installed. Skip the liner on textured walls and you will see every bump through the paper.
- Paste: Wheat-starch or methylcellulose paste for unpasted wallcoverings costs $15–$40 per bucket. A full room typically needs 2–3 buckets.
- Waste factor: Budget 10–15% waste on field cuts, corner wraps, and window trimming. On a $1,500 mural set, that’s a $150–$225 cushion you want in your back pocket before you start cutting.
Substrate Tradeoffs: Peel-and-Stick vs. Pre-Pasted vs. Unpasted
This is where intermediate buyers most often make the wrong call — choosing substrate on price rather than application fit.
Peel-and-stick (pressure-sensitive adhesive backing) is marketed heavily for renters and low-commitment decorators. For a forest mural in a dining room or hotel corridor — a high-traffic, humidity-variable environment — the failure modes are well-documented in installer forums and design-build project logs: edge lift within 6–18 months on flat-painted drywall, adhesive transfer that damages paint on removal, and the near-impossibility of realigning a large continuous scene once the panel touches the wall. Reviewers across multiple Apartment Therapy threads consistently rate peel-and-stick scenic murals as acceptable for short-term installations or renters who accept impermanence, not for permanent design statements. If you’re spending more than $200 on the mural itself, the substrate is not where to economize.
Pre-pasted murals (paper backed with a dried adhesive that activates with water) occupy the middle ground. They’re beginner-accessible and used by most mid-market brands. The limitation for large forest scenes: the water-activation process causes slight paper expansion, which can introduce 1/16–1/8 inch misalignment across a wide multi-panel scene. For a two- or four-panel mural, this is manageable. For a panoramic 8–12 panel forest wrapping three walls, small misalignments compound into visible seam gaps. Elle Decor’s 2025 guide to wallpaper selection recommends pre-pasted for standard-repeat wallpaper but notes that panoramic murals — precisely because seam registration is critical — are better suited to the unpasted format.
Unpasted (also called “paste-the-wall”) is the professional standard for scenic murals and the only format accepted by most bespoke studios. Paste is applied to the wall (not the paper), which means the paper doesn’t expand before application, seams register cleanly, and large panels can be slid into position. This format requires an NGPP-certified installer (National Guild of Professional Paperhangers, the US trade credential for wallcovering specialists) or an equivalently credentialed professional for any installation above entry level. Per Architectural Digest’s 2024 roundup of designer-recommended wallpaper brands, all of the high-end brands mentioned — including de Gournay, Gracie Studio, and Fromental — require unpasted installation and typically recommend or require the buyer to use a vetted NGPP installer to maintain any warranty.
If X, then Y — Substrate Decision Rule:
- If budget is under $300 and the installation is temporary: peel-and-stick is acceptable.
- If budget is $300–$800 and the installation is a primary living space: pre-pasted with a careful installer, but order an extra panel as a bleed allowance.
- If budget exceeds $800 OR the installation is a hotel/hospitality space: unpasted only, NGPP installer required. The cost of a failed seam in a $2,000 mural exceeds the installer premium by a wide margin.
Sampling: The Step You Cannot Skip
Before any panel count is finalized or a deposit placed, order physical samples. The “order 4–6 samples” standard exists for good reason, and it is especially load-bearing for forest murals because:
- Colorway varies dramatically between screen and print. Forest murals lean on greens, ochres, and shadow-blues — color families that compress on screen and diverge sharply in print depending on the substrate (non-woven vs. fabric-backed vs. grasscloth base). Architectural Digest notes that greens in particular shift between digital preview and printed output more than virtually any other hue.
- Scale is nearly impossible to judge from a thumbnail. A sample panel gives you a real sense of how dense the canopy feels at room scale versus how it reads at arm’s length on a monitor.
- Substrate texture affects your paint and plaster decisions. If you’re considering a liner or a skim coat before installation, the sample tells you whether the mural’s texture will telegraph the substrate beneath.
Most mid-market and premium brands charge $5–$20 per sample and credit the cost against your order. Bespoke studios may send A4 or letter-sized strike-offs at no charge for qualified trade buyers. In all cases, compare the sample in the actual room, in both daylight and evening artificial light, before committing.
The Decision Framework: Your If/Then Checklist
Here is the condensed decision tree for a forest mural project currently under consideration:
If your wall is under 100 square feet and the installation is temporary (renter, staging): → Entry-tier peel-and-stick. Budget $100–$350 true cost. DIY installation is viable.
If your wall is 100–200 square feet and the room is a permanent living space: → Mid-market pre-pasted or unpasted. Budget $800–$2,500 true cost including liner and a professional installer. Order samples before finalizing panel count.
If your wall is over 200 square feet OR spans multiple walls OR it’s a hospitality project: → Premium or bespoke, unpasted, NGPP installer minimum. Budget $3,000–$15,000+ true cost. Engage the installer before ordering — they will verify your measurements and often catch substrate issues the designer misses.
In every case: Order one extra panel beyond your minimum panel count, confirm the mural height against your actual ceiling height before checkout, and never assume the digital colorway matches the printed output until you have a physical sample in hand.
Use our panel calculator to enter your wall dimensions and get a quick panel count and tier-specific cost estimate before you contact the studio.